Second part in a series
After 20 years of covering CNC technology in woodworking, I was both ready and a bit nervous about setting up my own first CNC machine. But at the same time, I knew the Inventables staff had made it a priority on making things easy and accessible for new users.
My first hint that my experience with the X-Carve Pro was going to be different came when I opened the 300-pound box strapped to a pallet. While larger CNC machines have to be delivered on flatbed semi-trucks with riggers in tow and smaller CNC machines might come in a bunch of boxes with all sorts of parts to assemble, the 4x4-foot X-Carve Pro somehow fit in just one box.

Steps and layers
The genius of the X-Carve Pro assembly process is anticipation. An online portal has step-by-step instructions and videos that correlate with how the parts and assemblies were packed in three Styrofoam-protected layers in the roughly 2x2x6-foot shipping box.
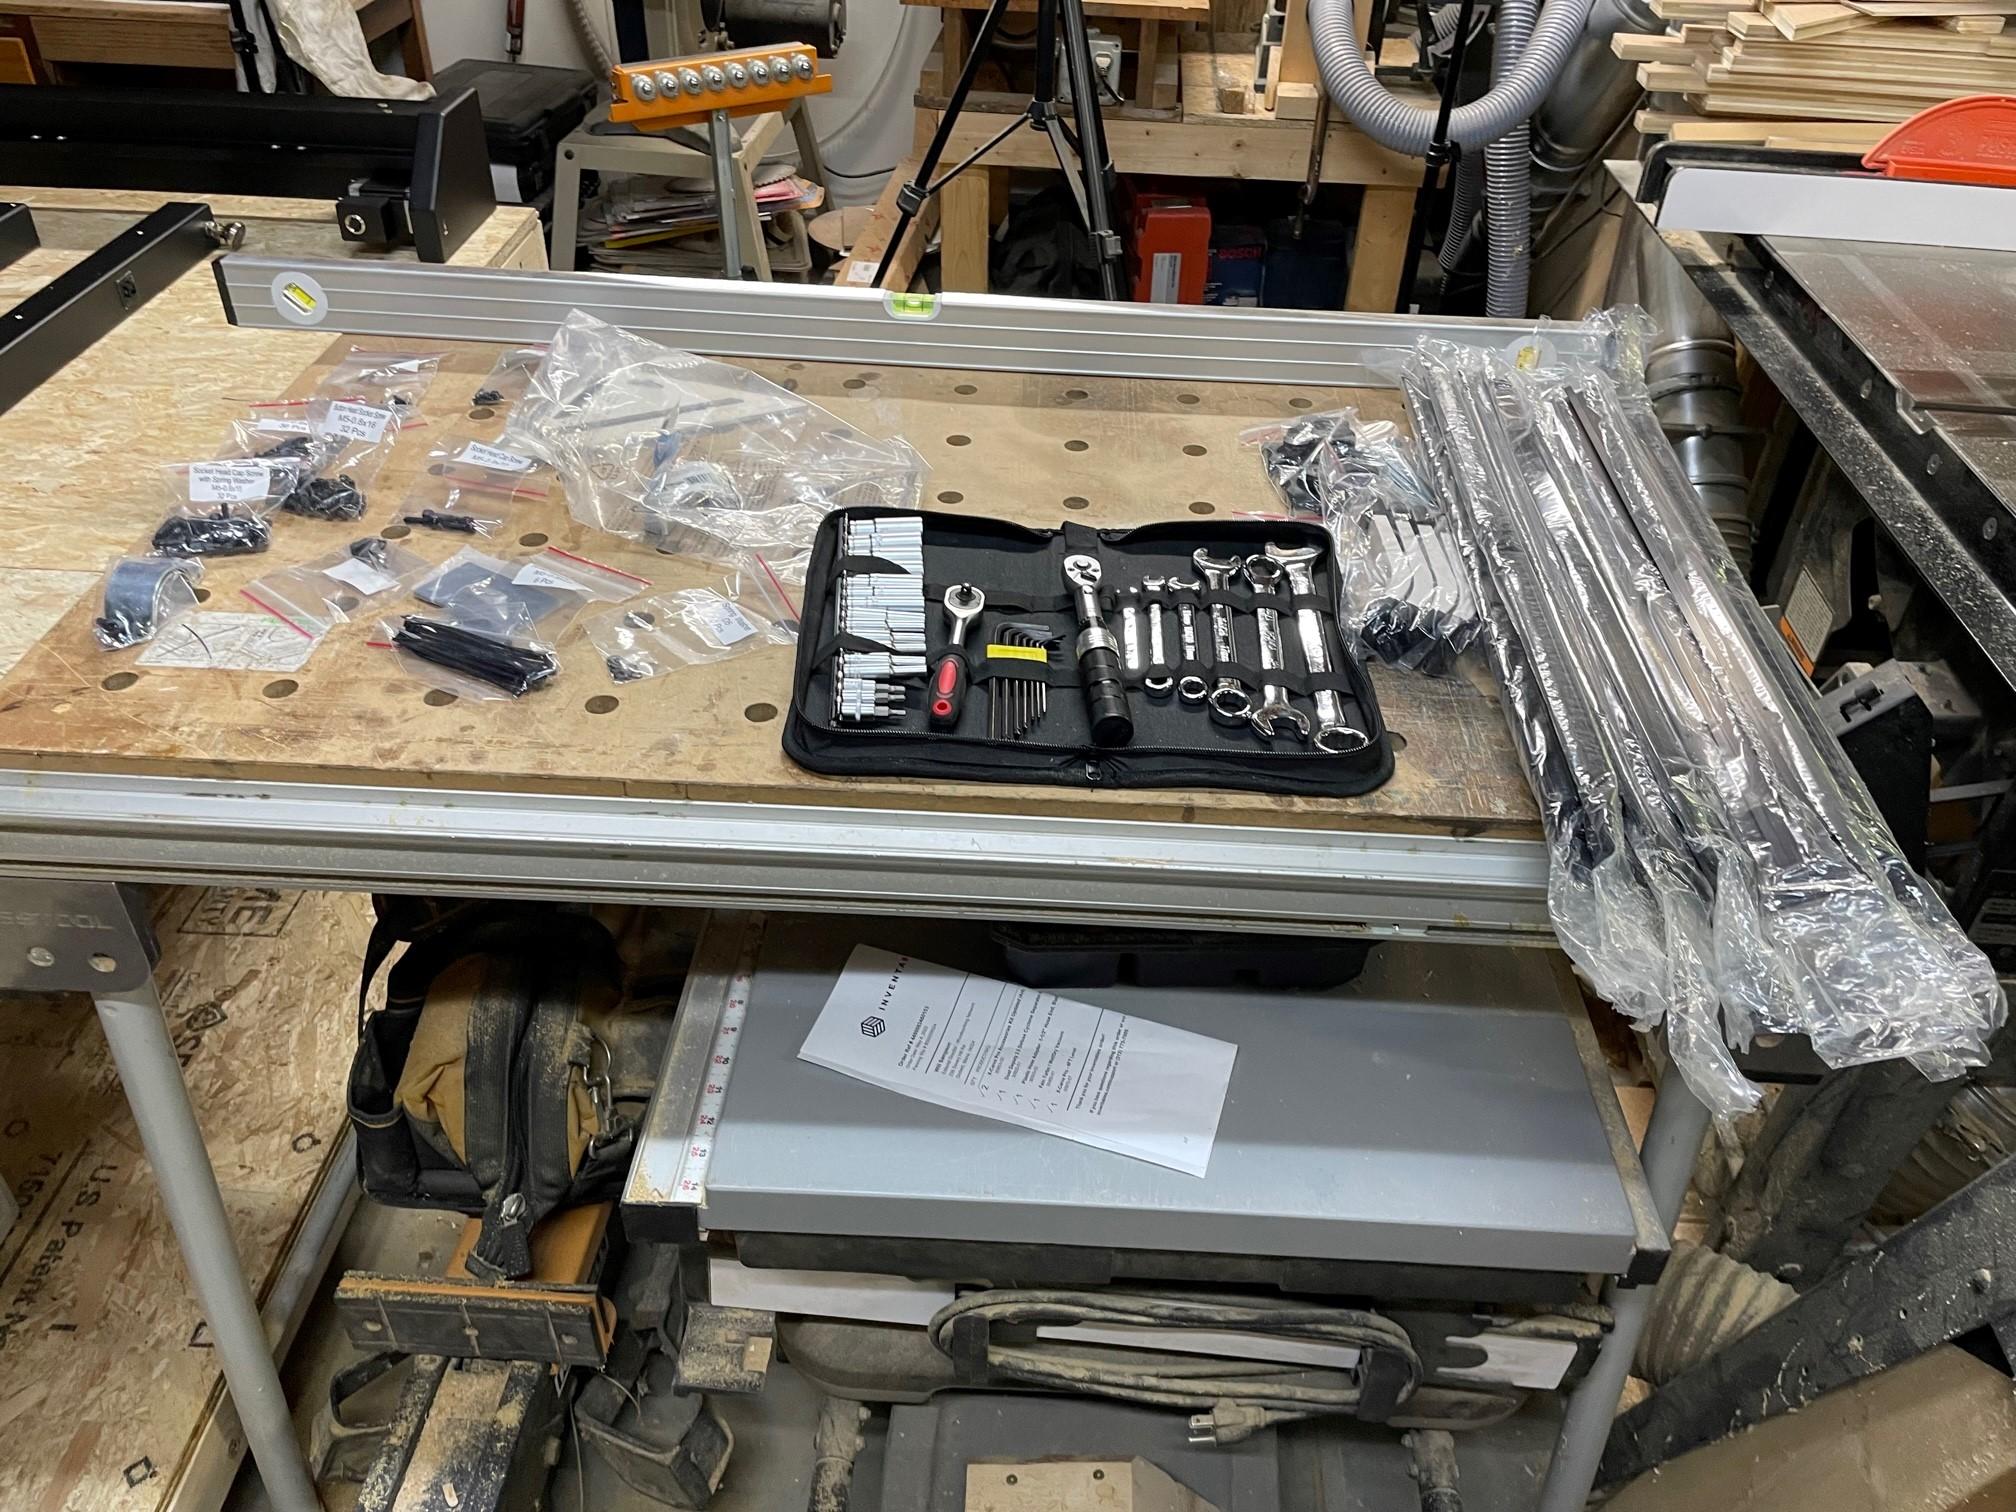
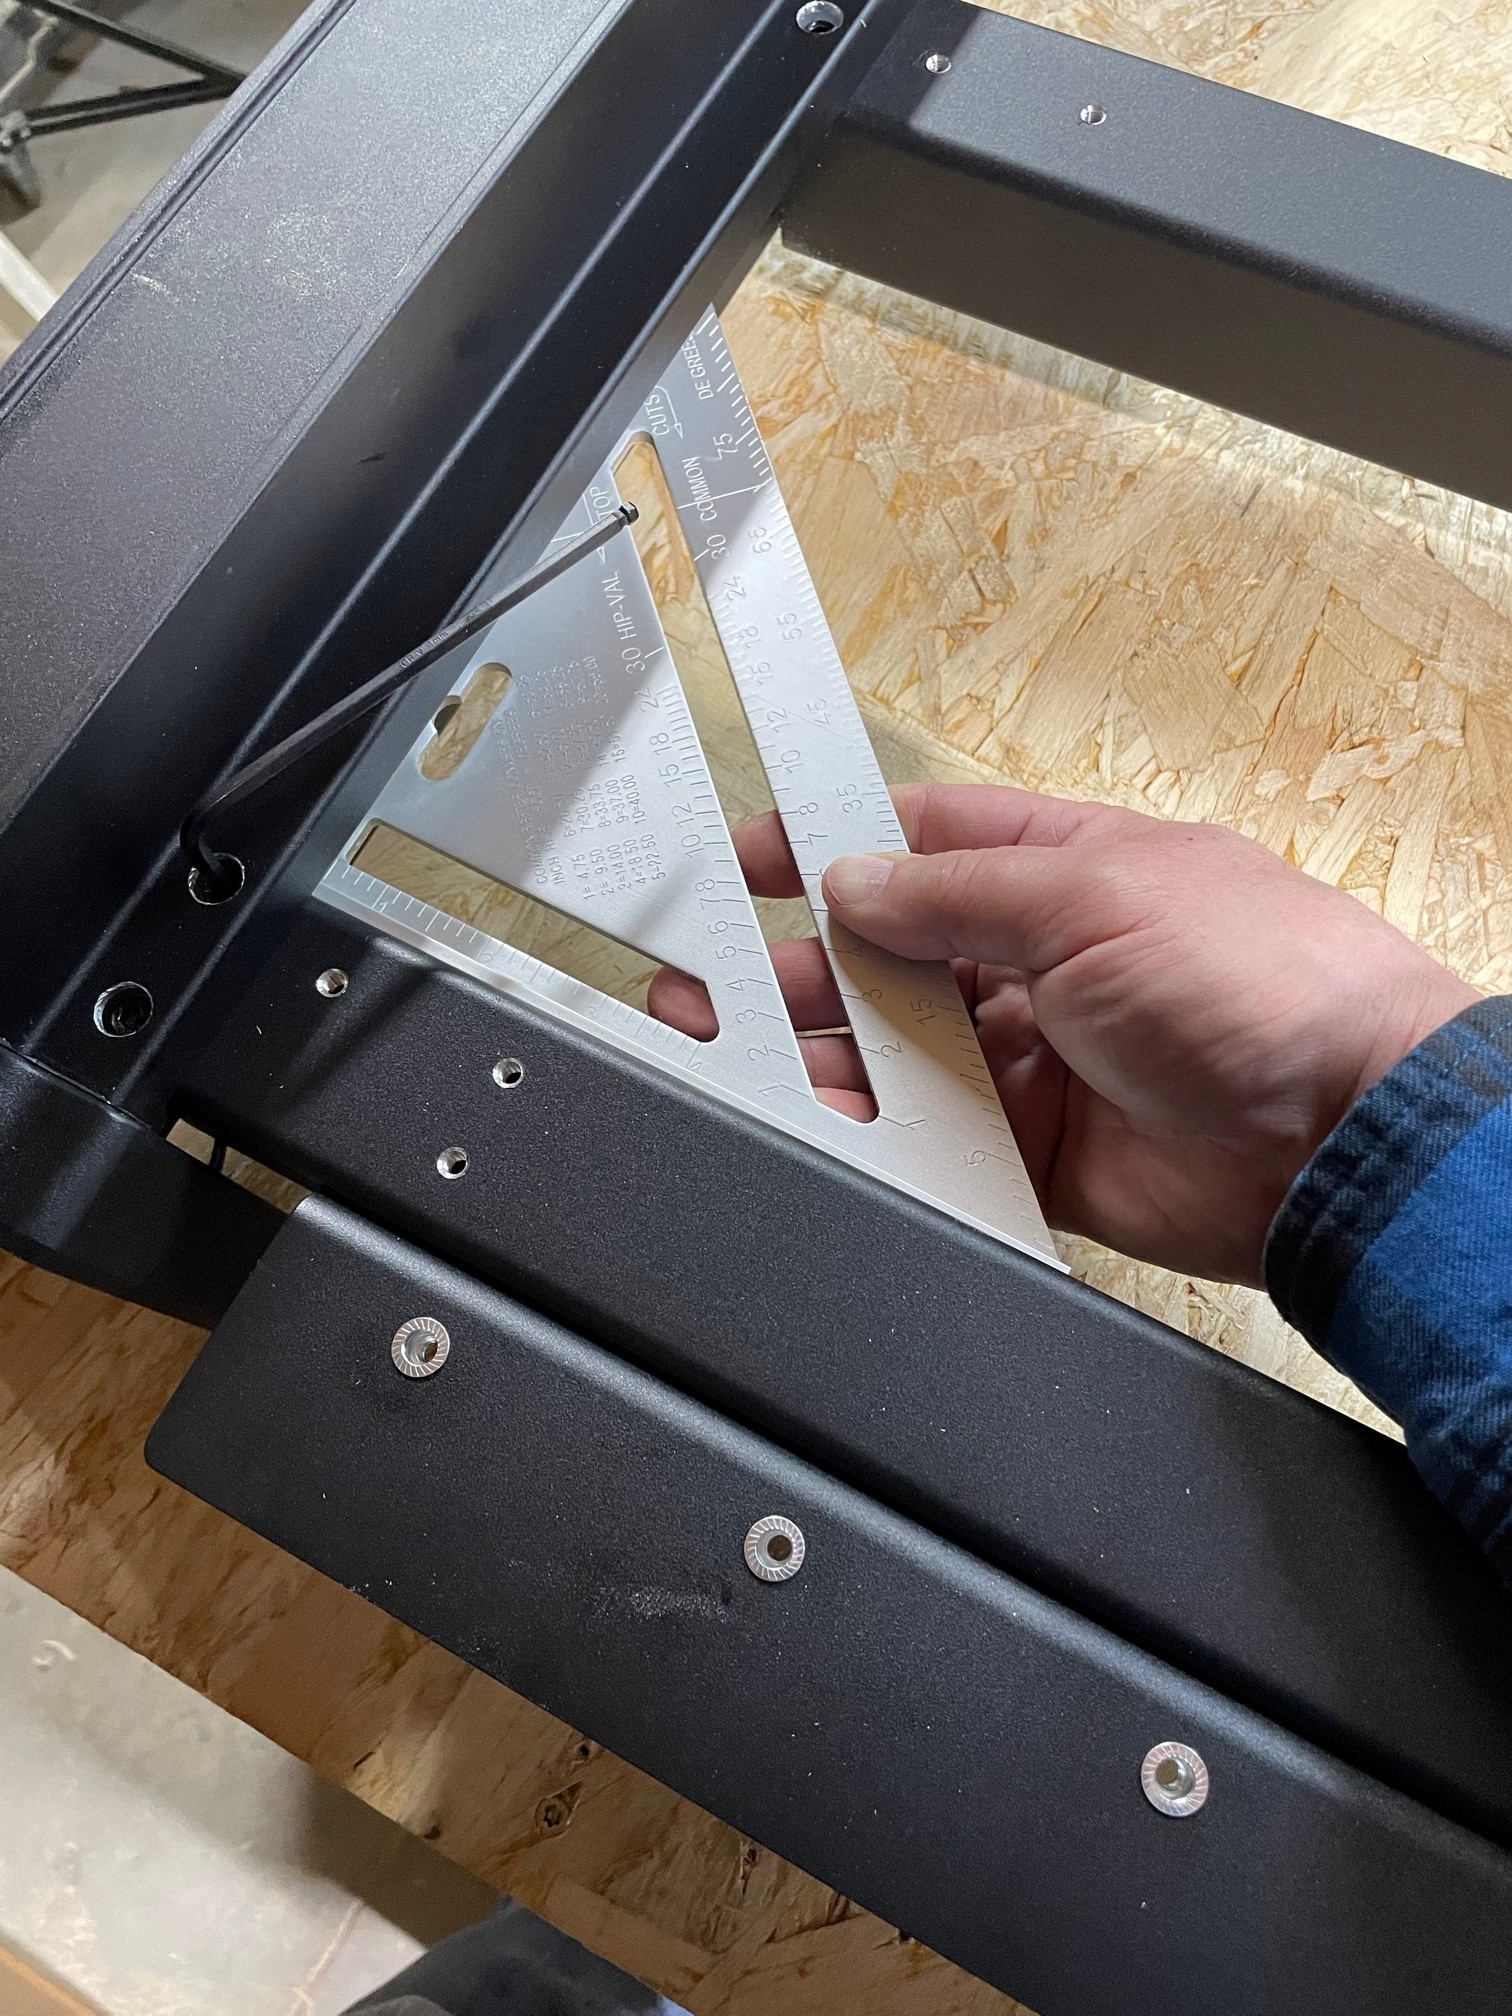
The top layer included the controller, rails, cables, and a tool kit packed in a nice nylon case. Tools included pro-quality sockets, Allen wrenches, open-end wrenches, a ratchet and a small torque wrench. There were also packets of fasteners, all individually labeled. Online instructions and videos covered 13 steps starting with an overview. Next came preparing for assembly, arranging Y axes, assembling the frame, and leveling. I used the supplied speed square, 4-foot level, and torque wrench to put it all together.
Installing the gantry
In the second level of the shipping box is the gantry, pre-assembled with the spindle and Z-axis. There were lots of warnings that it required two people to install it. I drafted my adult son to help.
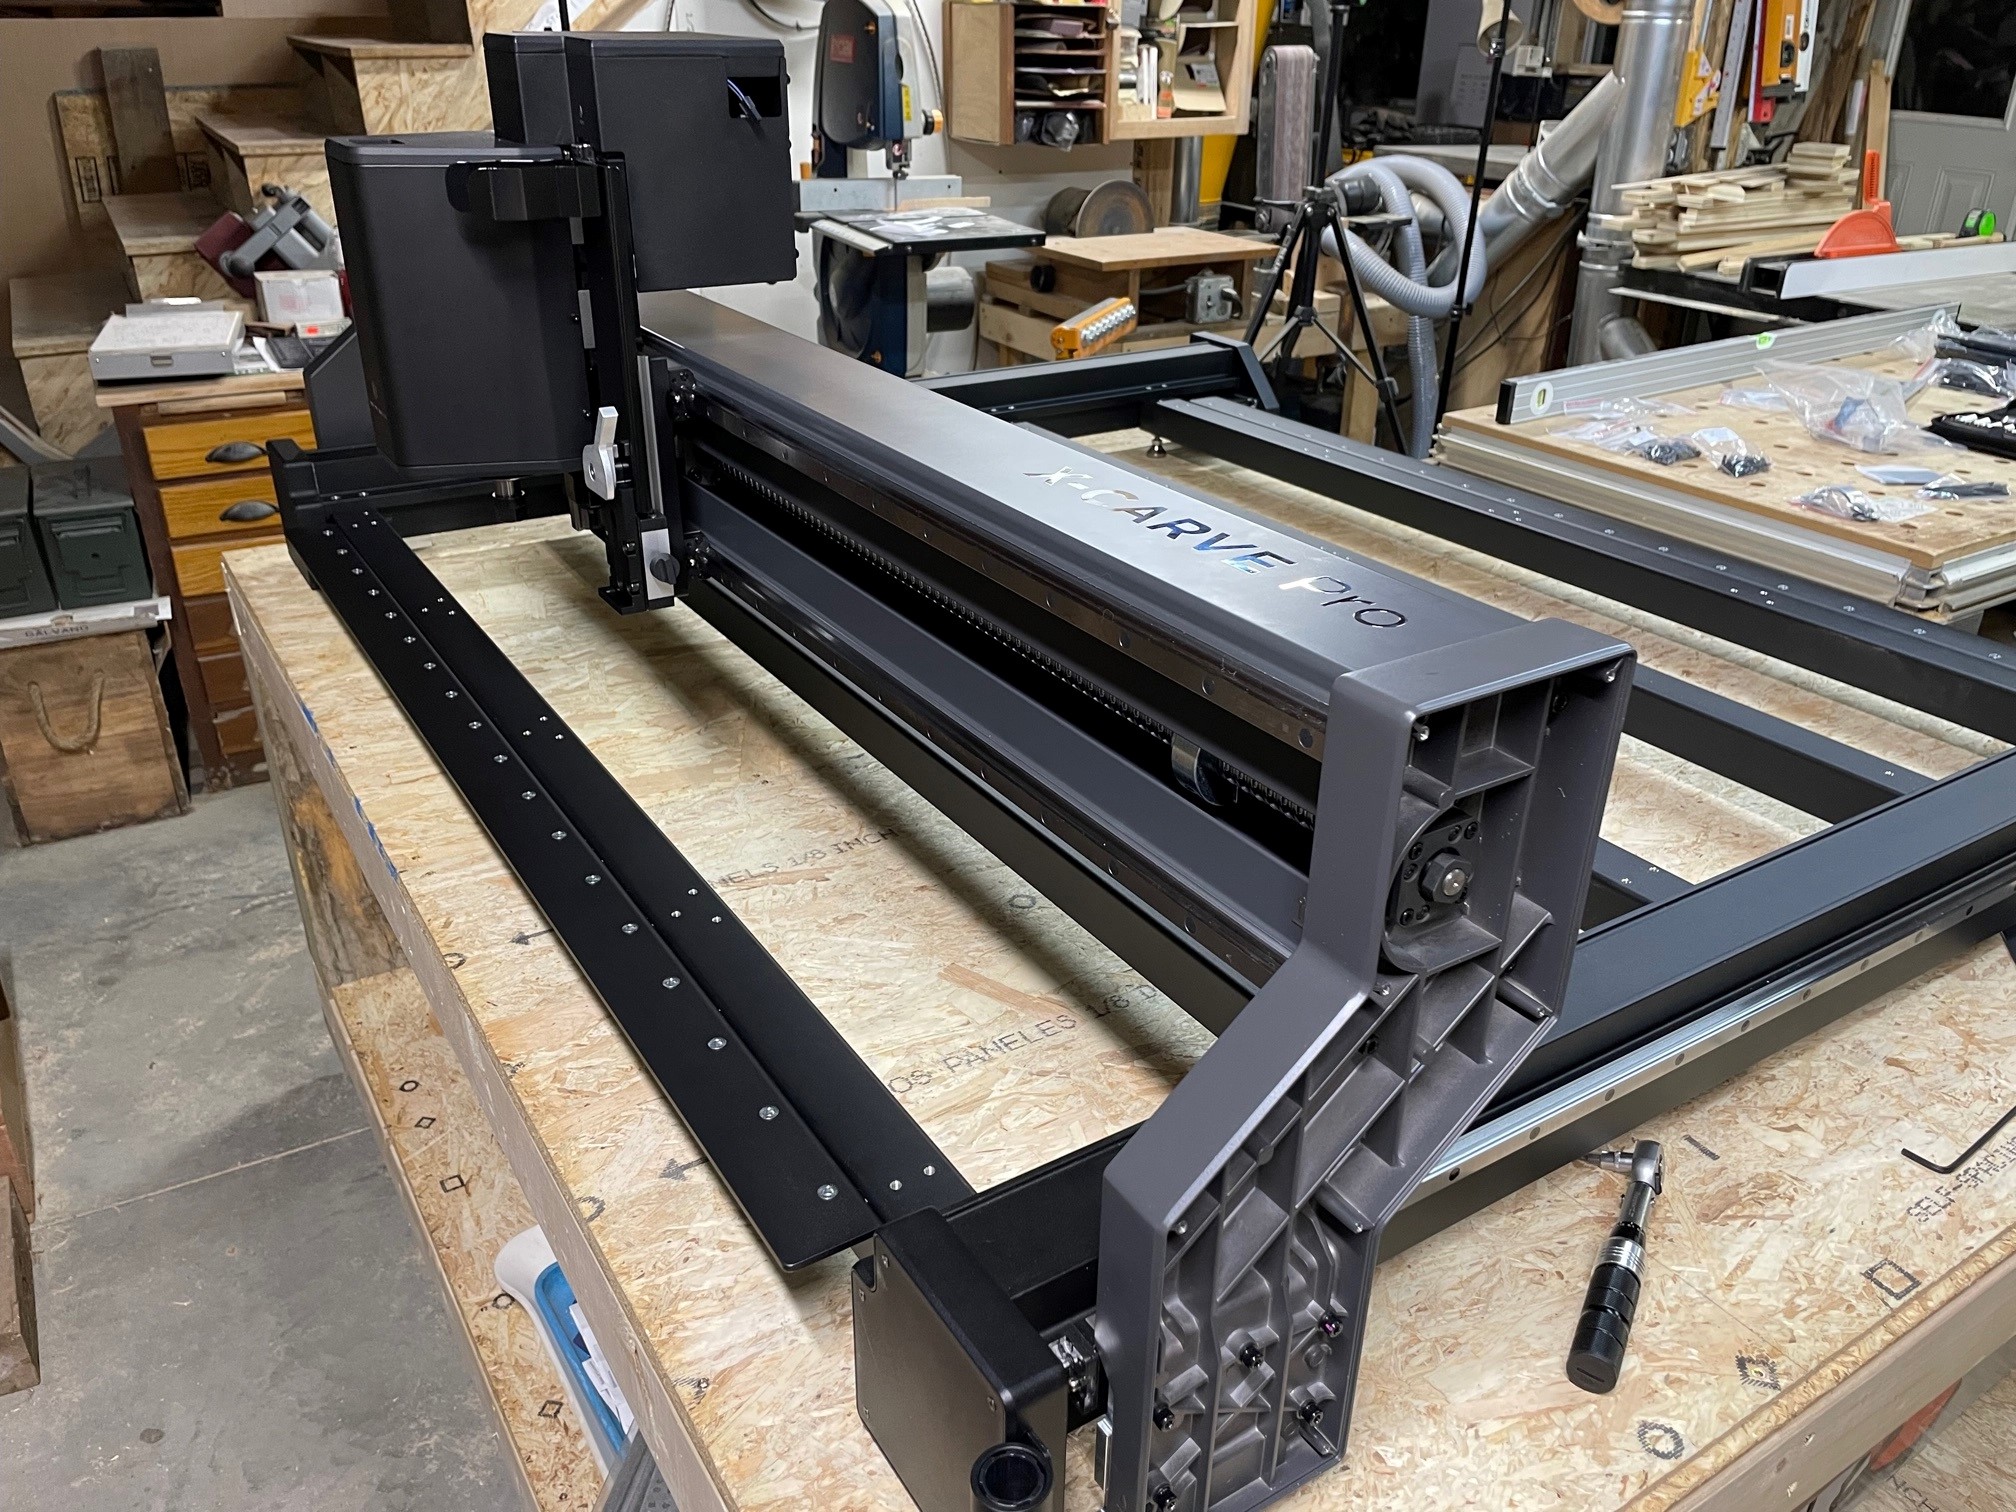
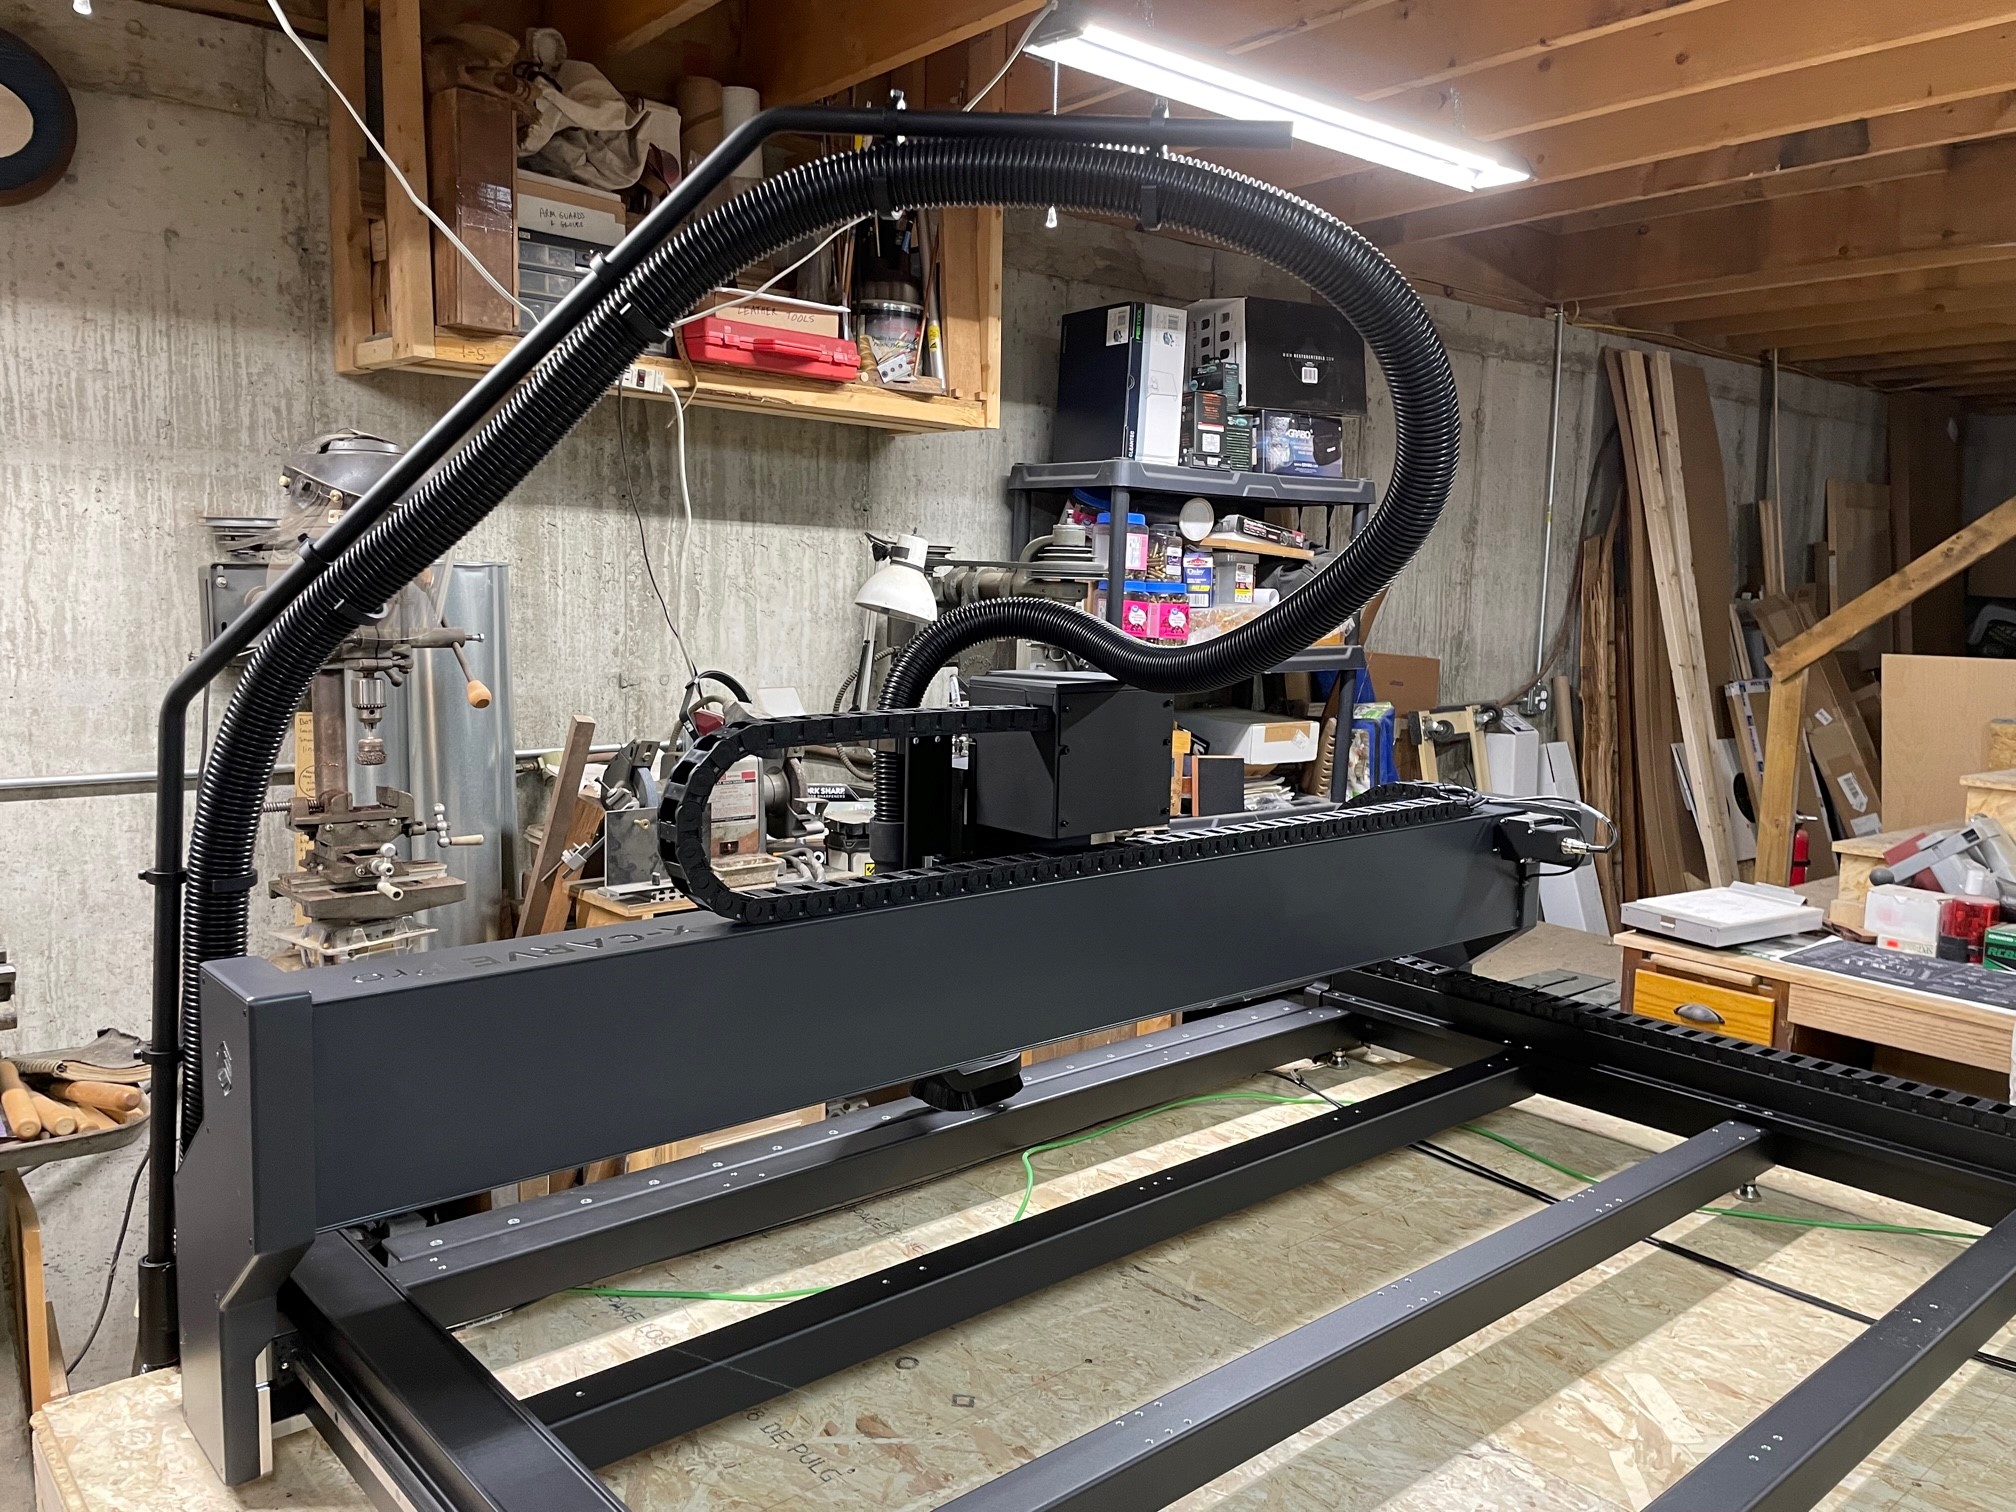
It was fairly easy for the two of us to maneuver the gantry and set it on top of the two Y-axes, bolting it in place. Now it looked like a CNC machine. Most of the next steps involved connections: installing the drag chains, connecting cables, installing electronics, and I got to take a good look at the Chinese-made 2-hp, 110-volt spindle. Next, it was time to turn to the dust collection.
Dust collection
Although I have a central dust collection system that could handle the CNC, initially we decided to use the supplied Fein shop vacuum and Oneida Dust Deputy mini cyclone.
Setting that up was straightforward. A hose from the CNC goes to the cyclone, and another hose goes from the cyclone to the Fein shop vacuum. Turning on the vacuum to test, I was amazed at how quiet it was.
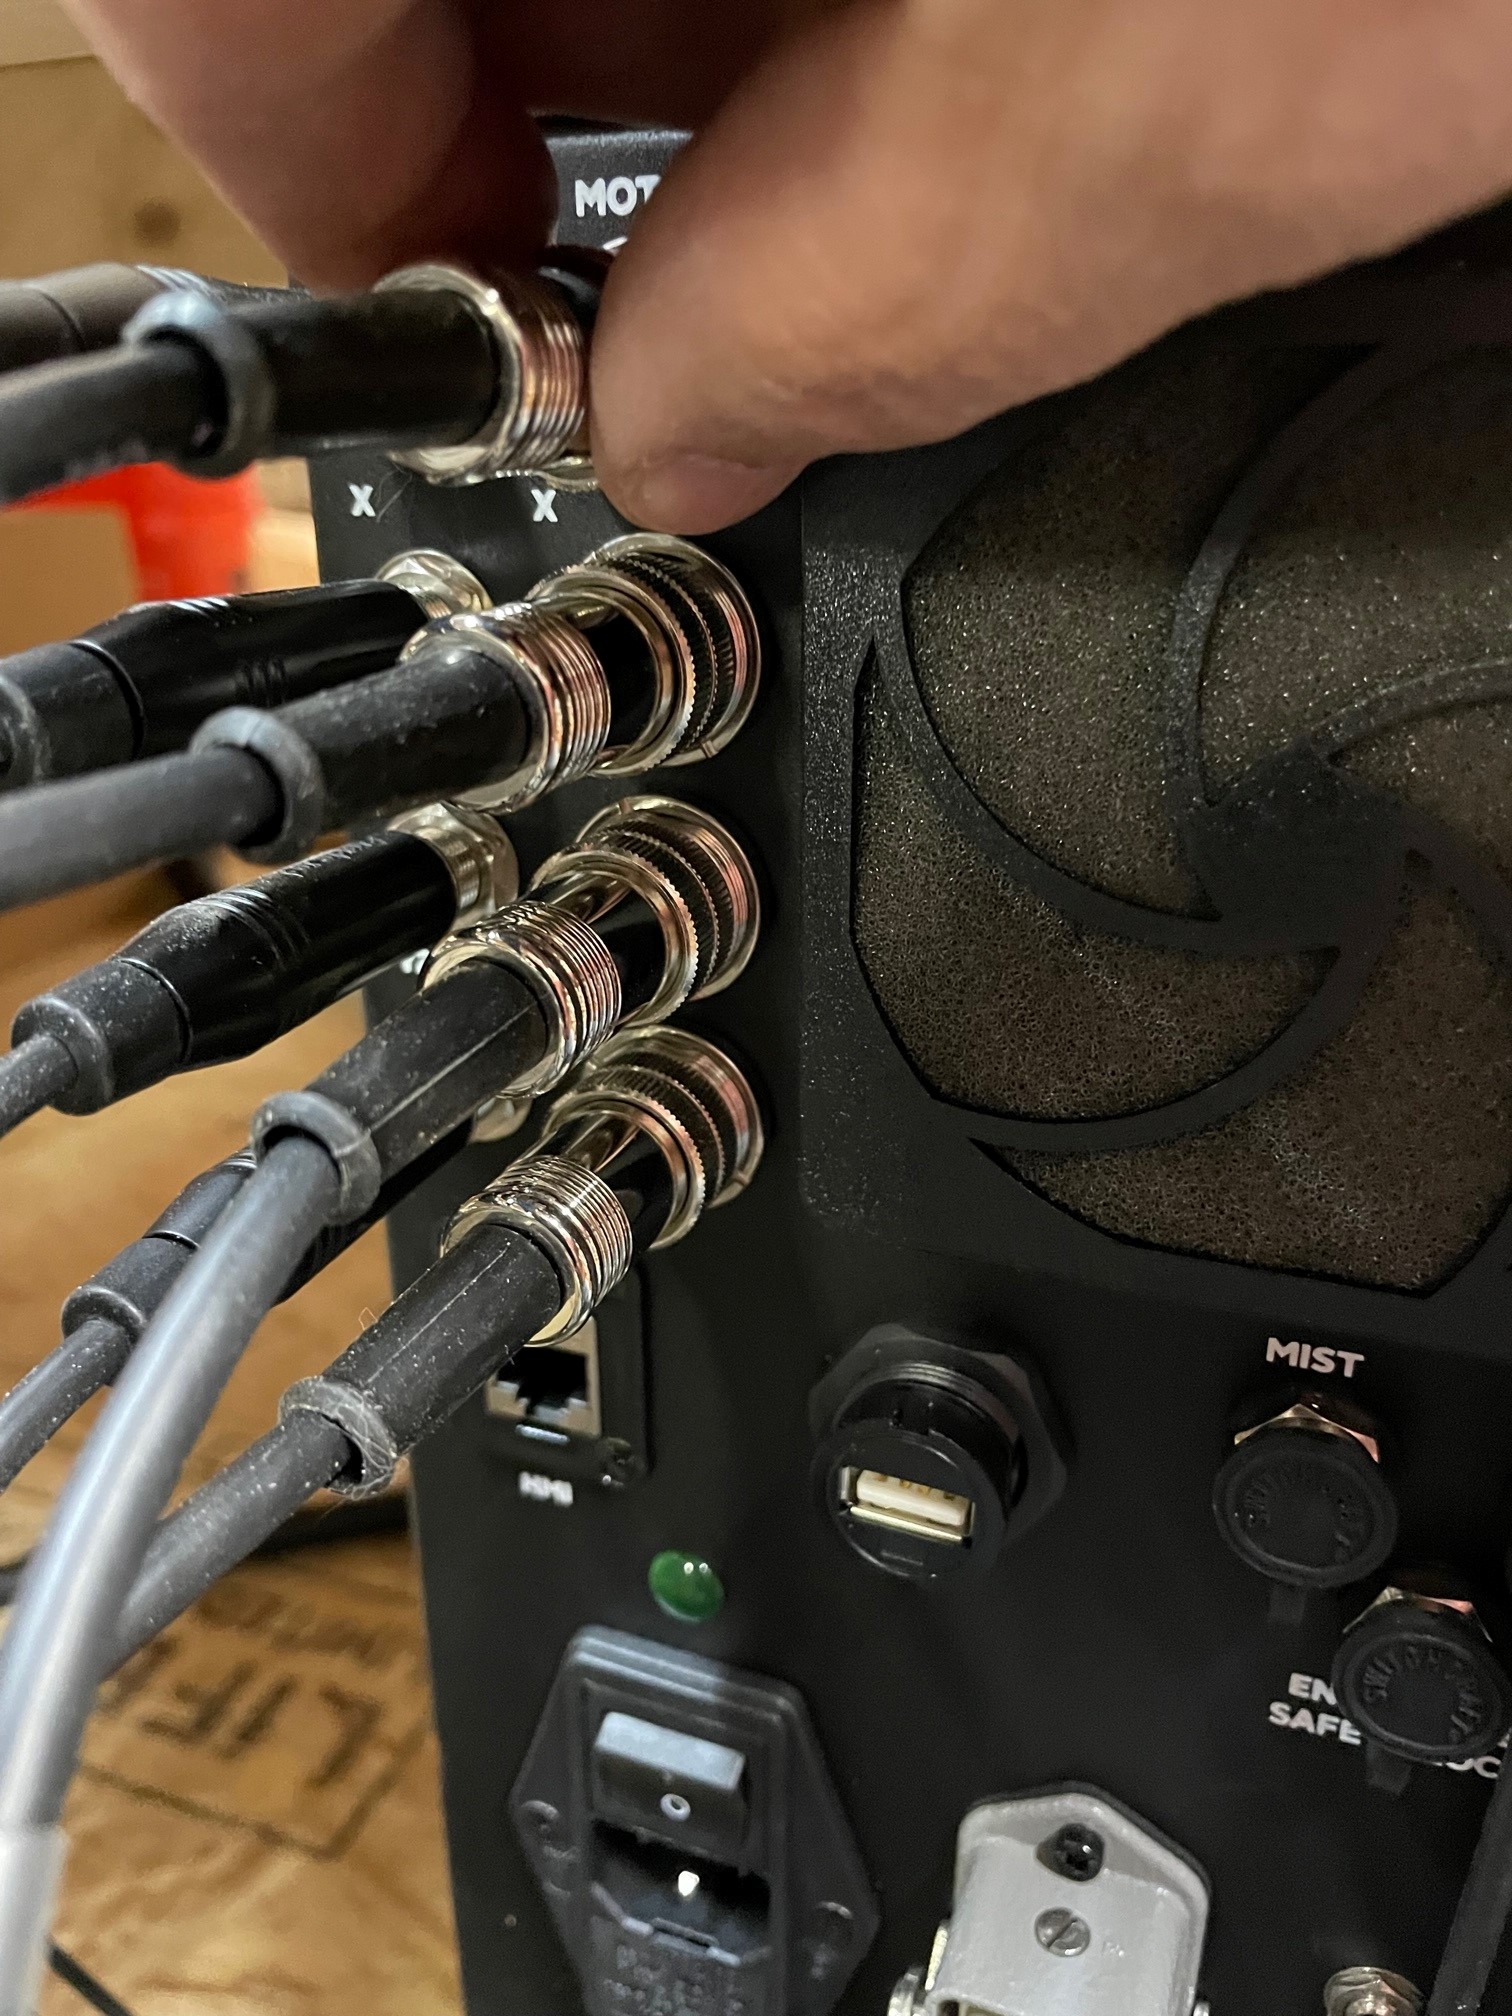
Final connections
Once you make all the electrical connections, which are just about all plug connections with no raw wiring, first test is to power up the controller and Human Machine Interface (HMI), a little black box that has the emergency kill switch for the machine.
There are lots of warnings in the instructions about having the machine on its own circuit and not a circuit that is connected to a GCFI, so I made sure it was plugged into a circuit that would be used only by the CNC machine.
Finally flipping the switch on the controller was exciting as I was rewarded with green lights on both the controller and HMI. We were almost ready to see what the machine could do.
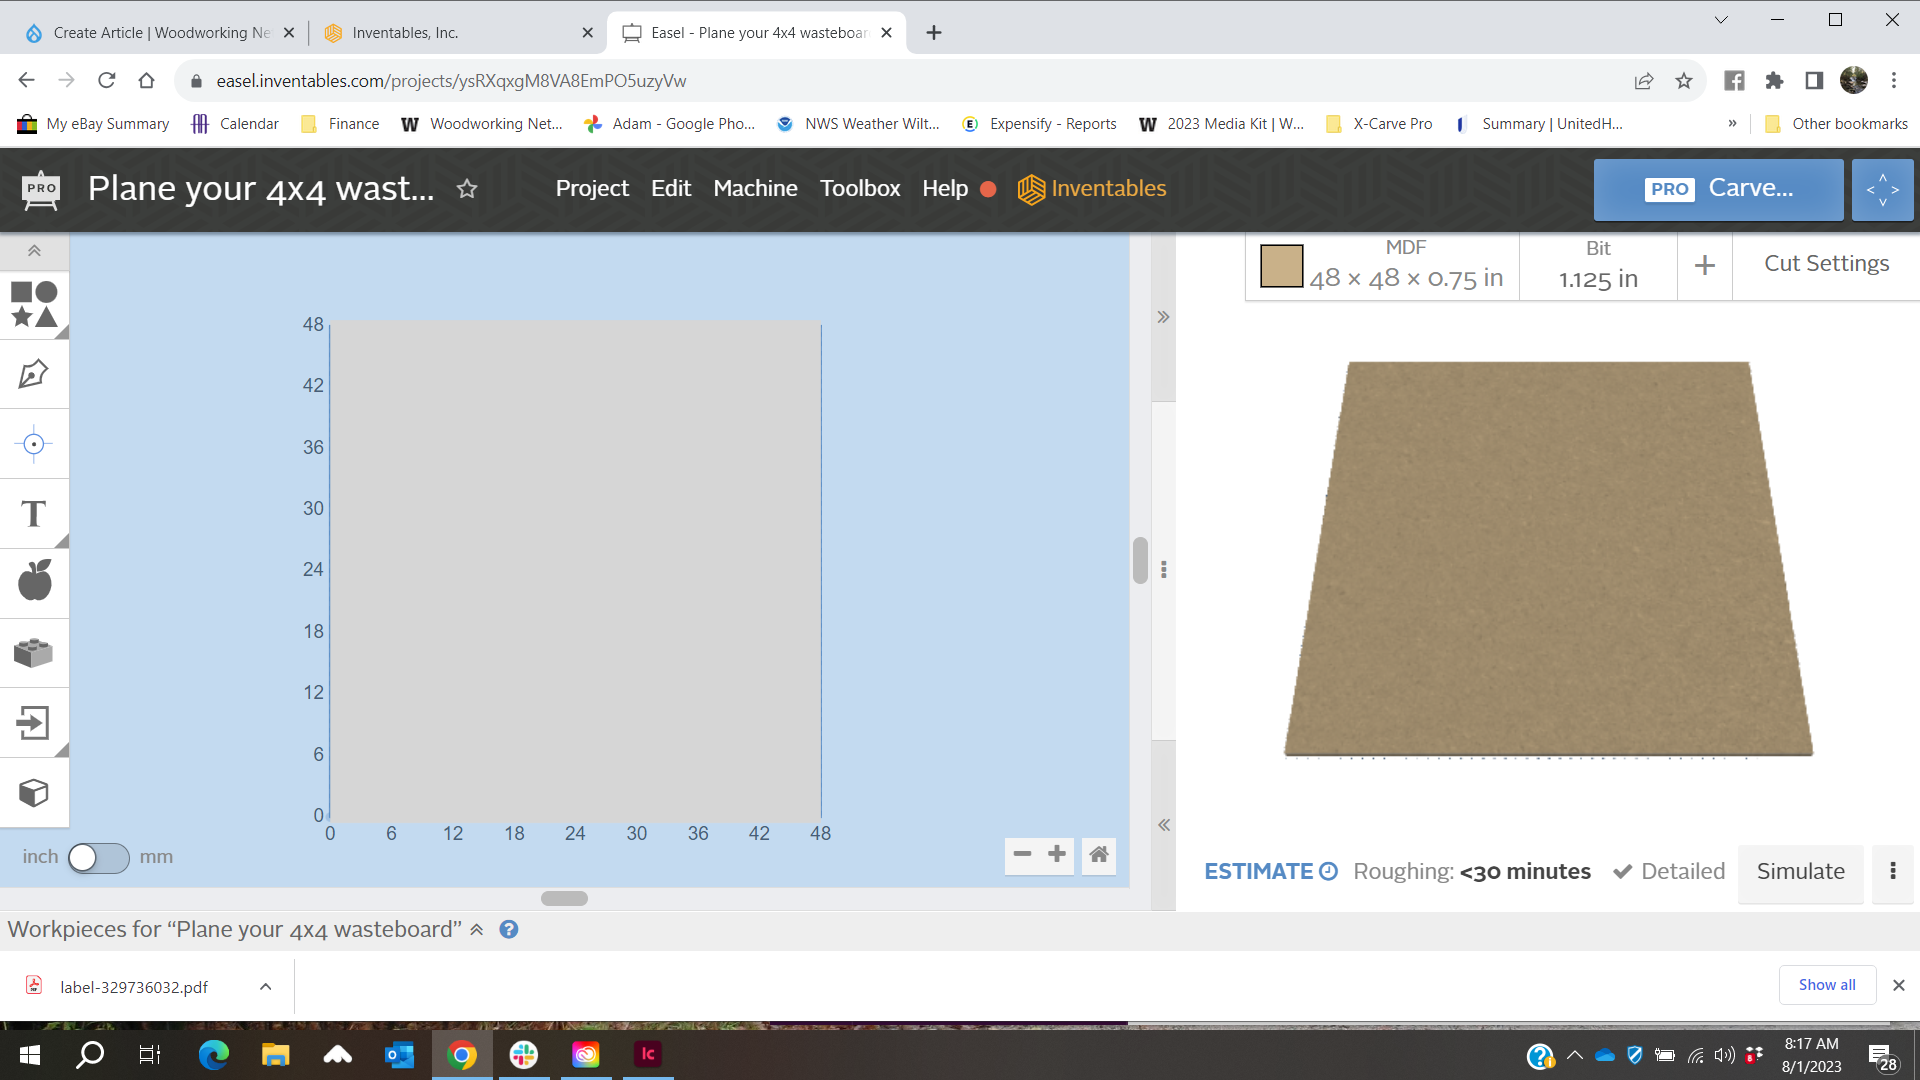
Opening Easel
Inventables’ proprietary software is called Easel. It is web-based software, so you do need an Internet connection to use it and operate the CNC. I downloaded the drivers and connected my laptop to the X-Carve Pro.
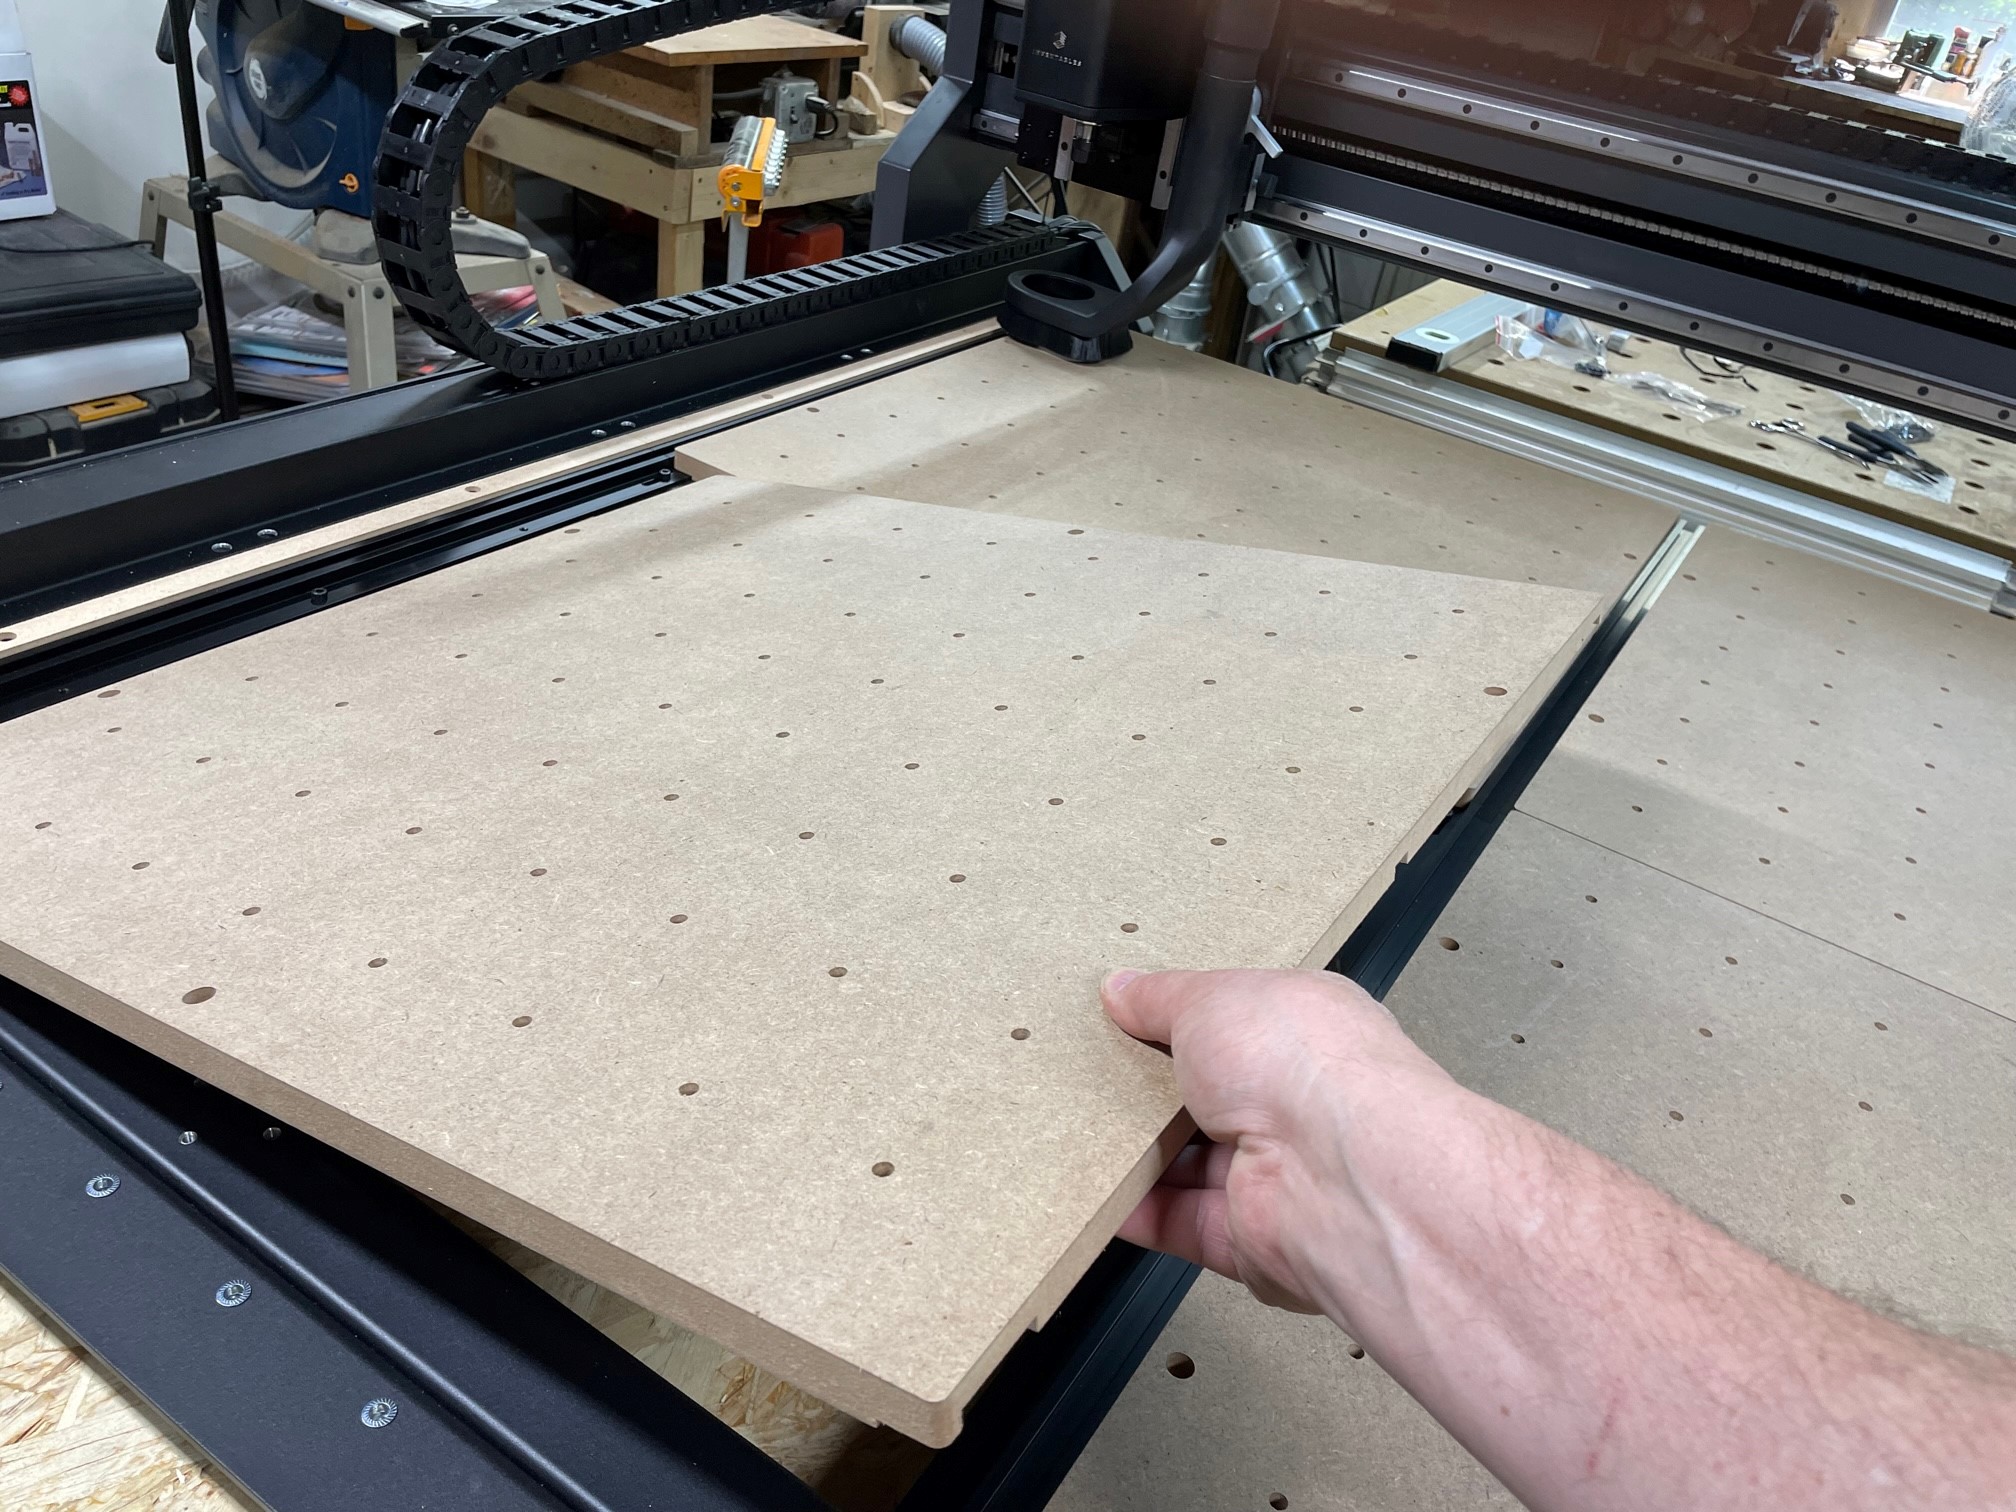
You actually use the software in the final assembly steps for the machine, squaring and homing the machine. Once you install the wasteboard pieces, which were the final layer of the three layers in the X-Carve Pro box, you install a bit in the spindle and plane the wasteboard. That gives you the thrill of watching the machine plane the wasteboard to make sure it is completely true to the machine.
Thoughts on assembly and setup
In some Inventables promotional materials they talk about how fast you can set up the machine. I think in one video I saw they said two hours. I took more time than that because I was being extra careful at every step and documenting everything. I wasn’t trying to race anyone. I spent maybe six hours over several evenings following the steps. Coming next we have the really exciting part: making stuff!
In the meantime, if you want to learn more about the X-Carve Pro and Easel software, visit inventables.com.
Watch the video below to see the successful wiring connections and the moment when we first turned on the machine.


Have something to say? Share your thoughts with us in the comments below.